Configuring Advanced Endpoint Analysis Scans
You can configure two types of EPA scan, OPSWAT scan and System scan.
Configuring OPSWAT Scan
The following OPSWAT scans are configured on a Citrix Gateway appliance.
- Product specific scan
- Vendor specific scan
- Generic scan
Note: Scans that a particular product support is displayed in the GUI. Also, the following OPSWAT scan configuration takes pre-authentication EPA as an example. OPSWAT scan can be configured for post-authentication EPA as well.
Configuring Product specific OPSWAT scan
To use the NetScaler GUI to configure product specific OPSWAT scan:
-
Navigate to Configuration > Citrix Gateway > Global Settings.
-
On the Global Settings page, click Change Preauthentication settings link.
-
On the Configure AAA Preauthentication Parameter page, click the OPSWAT EPA Editor link.
-
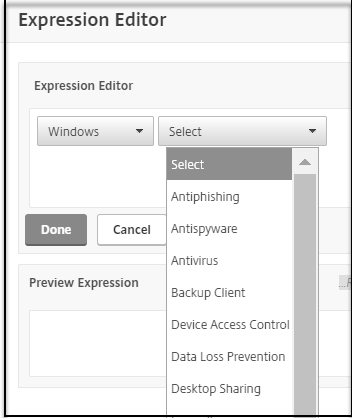
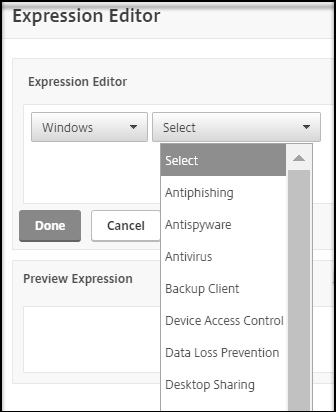
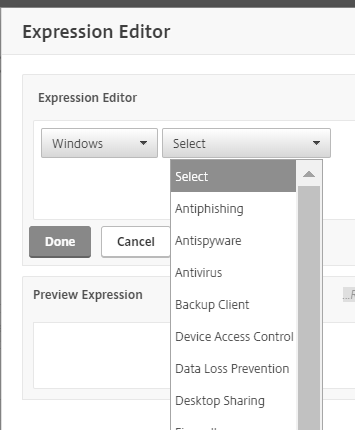
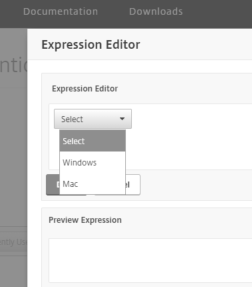
Under the Expression Editor area, select the operating system.

-
Select the category, for example Antivirus.
-
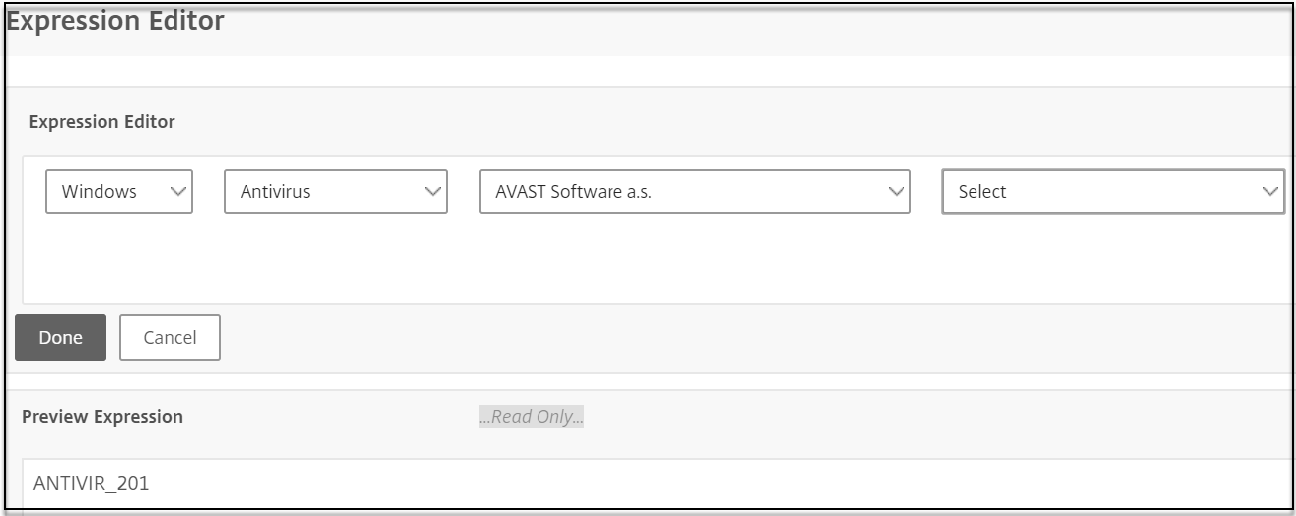
Select the vendor, for example AVAST Software a.s.
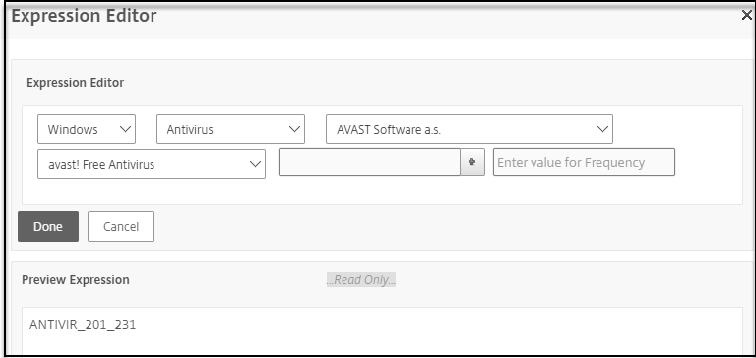
-
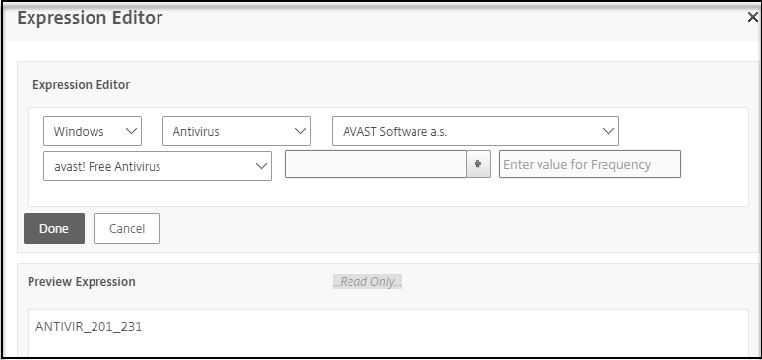
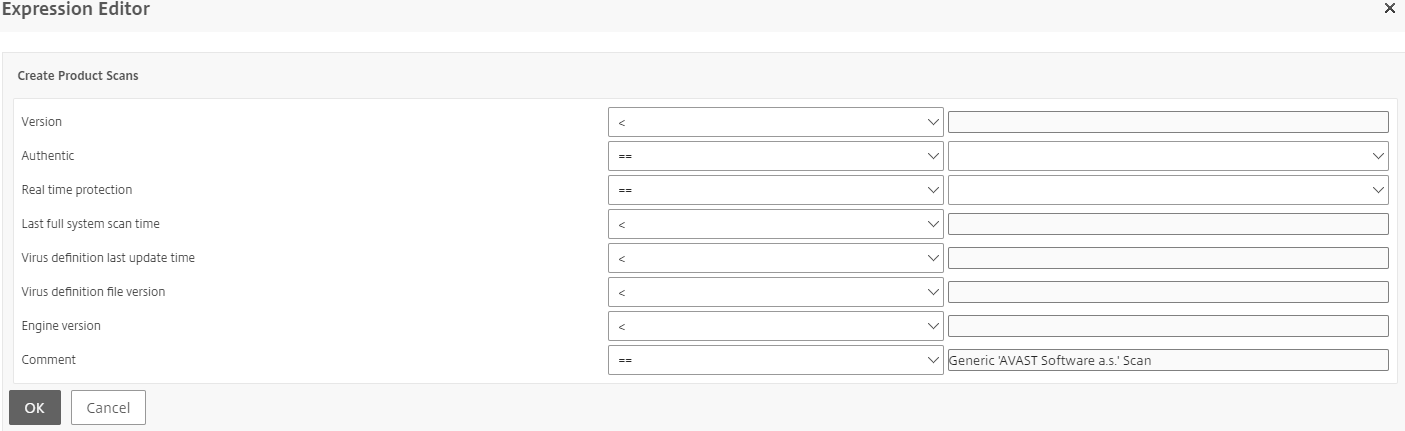
Select the product, for example Avast! Free Antivirus.
-
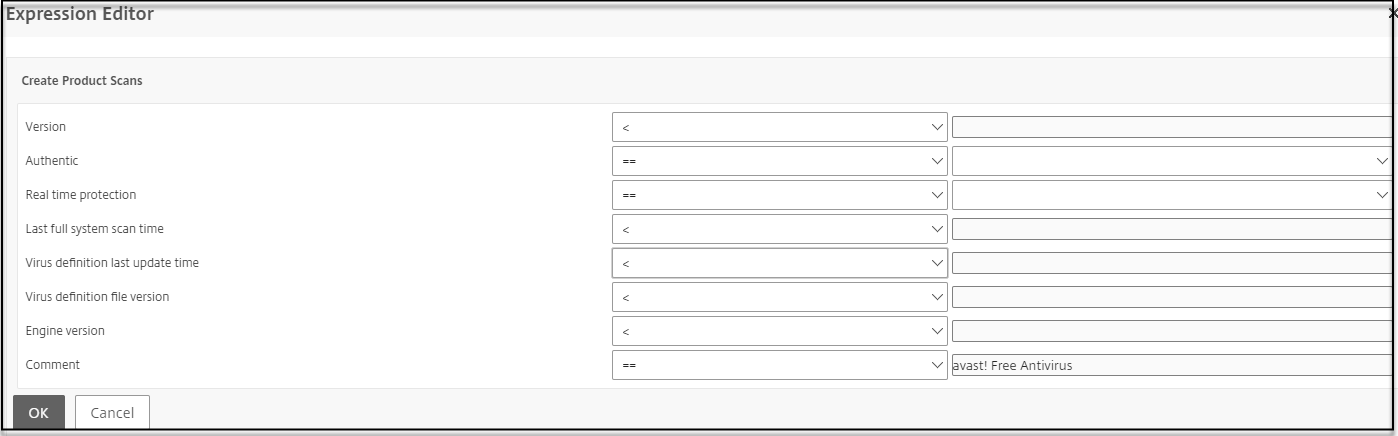
Click + next to the product menu to configure the product scan.
-
Optionally enter a value for frequency of scan if you want a periodic scan.
Configuring Vendor specific OPSWAT Scan
To use the NetScaler GUI to configure Vendor specific OPSWAT scan:
-
Navigate to Configuration > Citrix Gateway > Global Settings.
-
On the Global Settings page, click Change Preauthentication settings link.
-
On the Configure AAA Preauthentication Parameter page, click the OPSWAT EPA Editor link.
-
Under the Expression Editor area, select the operating system.

-
Select the category, for example Antivirus.
-
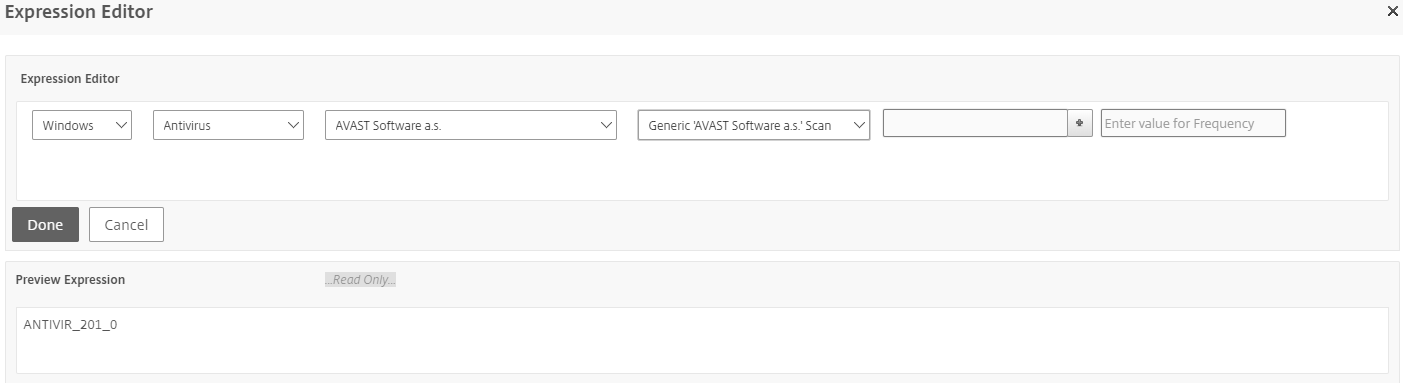
Select the vendor, for example AVAST Software a.s.
-
Select Generic ‘AVAST Software a.s’ Scan vendor specific scan.
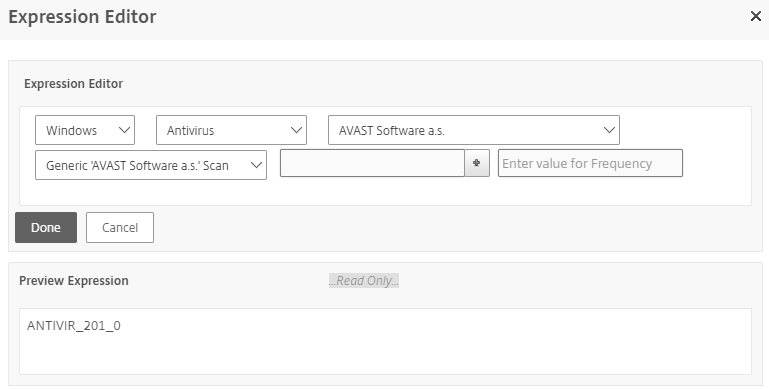
-
Click + next to the product menu to configure your scan.
-
Optionally enter a value for frequency of scan if you want a periodic scan.
Configuring Generic OPSWAT Scan
To use the NetScaler GUI to configure Generic OPSWAT scan:
-
Navigate to Configuration > Citrix Gateway > Global Settings.
-
On the Global Settings page, click Change Preauthentication settings link.
-
On the Configure AAA Preauthentication Parameter page, click the OPSWAT EPA Editor link.
-
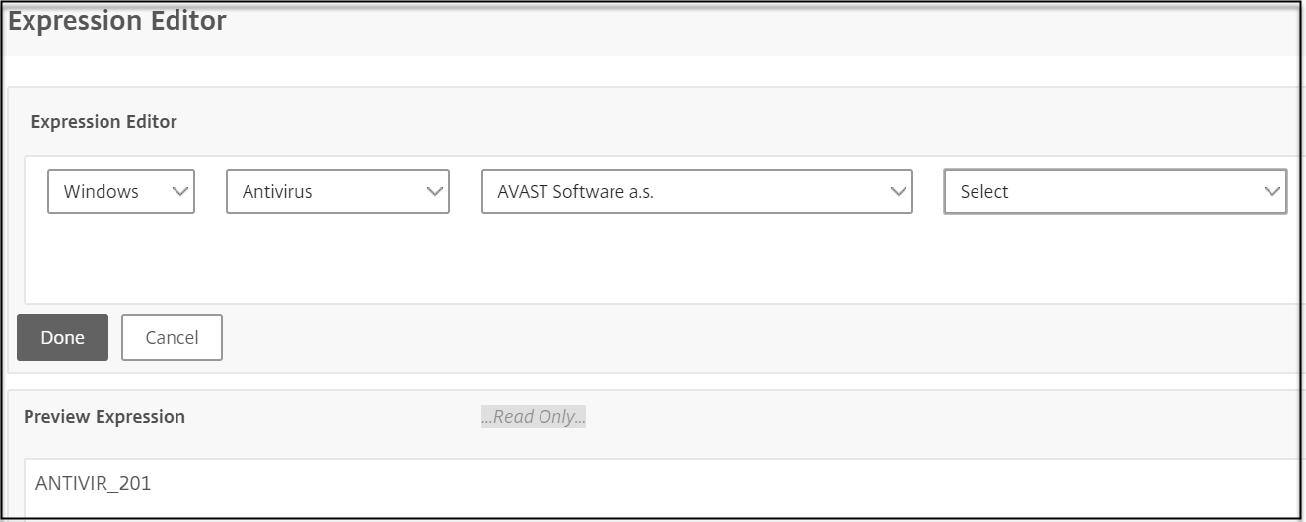
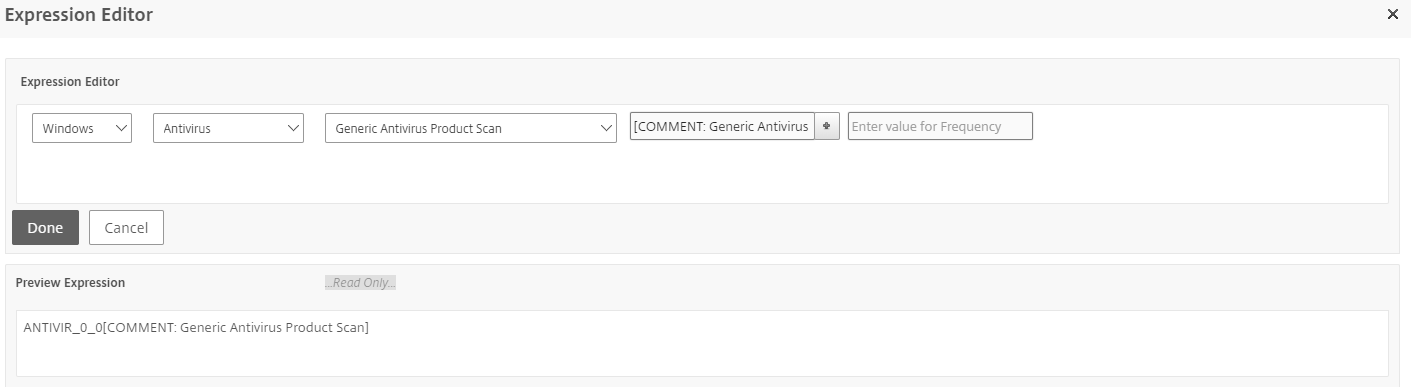
Under the Expression Editor area, select the operating system.

-
Select the category, for example Antivirus.
-
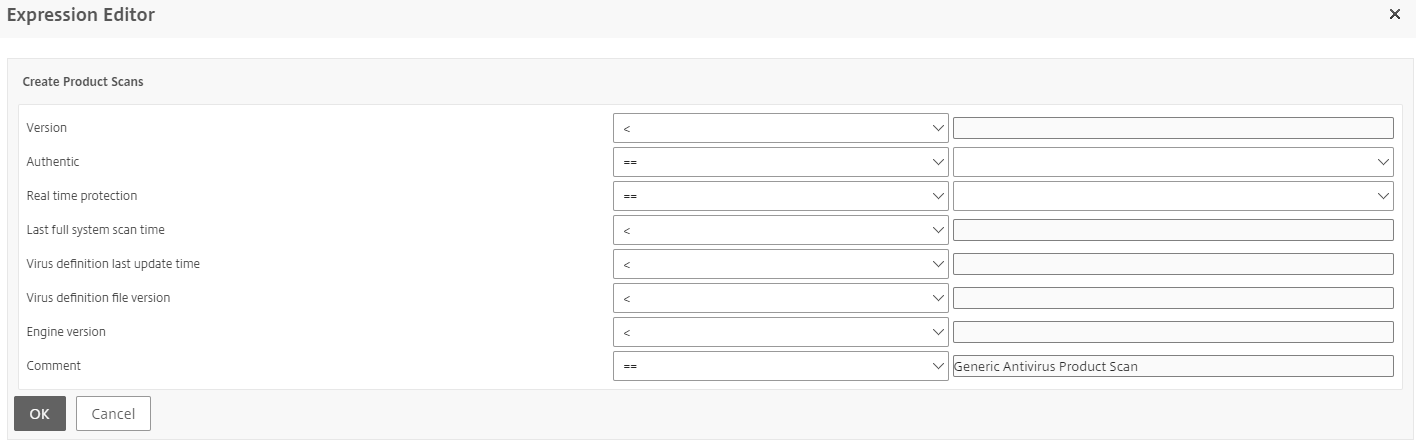
Select “Generic” category specific scan, for example Generic Antivirus Product Scan.
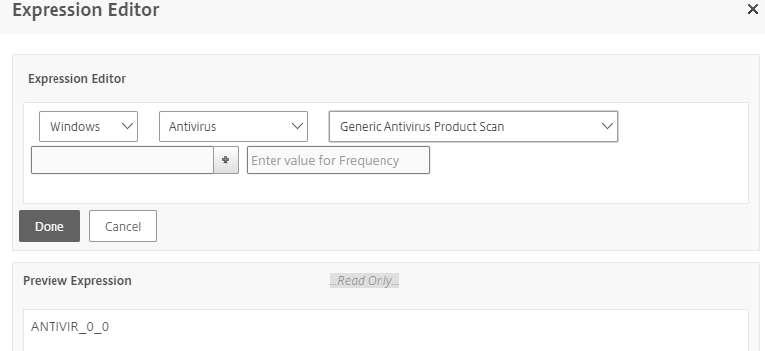
-
Click + next to the product menu to configure your scan.
-
Optionally enter a value for the frequency of the scan if you want a periodic scan.
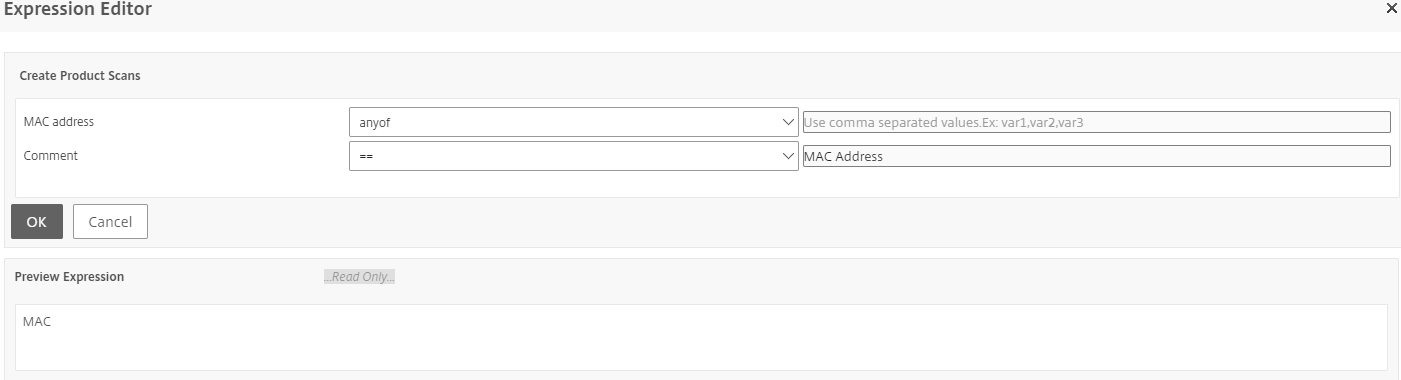
Configuring System Scan
The following system scans are configured on a Citrix Gateway appliance.
- MAC Address
- Domain Check
- Numeric Registry
- Non-numeric Registry
- Windows Update
To use the NetScaler GUI to configure OPSWAT System scan:
-
Navigate to Configuration > Citrix Gateway > Global Settings.
-
On the Global Settings page, click Change Preauthentication settings link.
-
On the Configure AAA Preauthentication Parameter page, click the OPSWAT EPA Editor link.
-
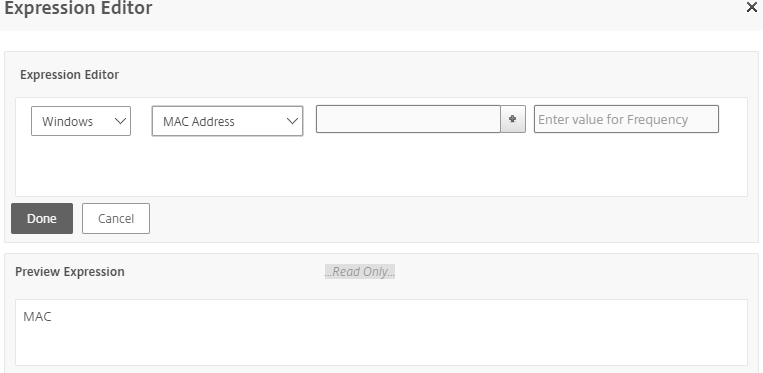
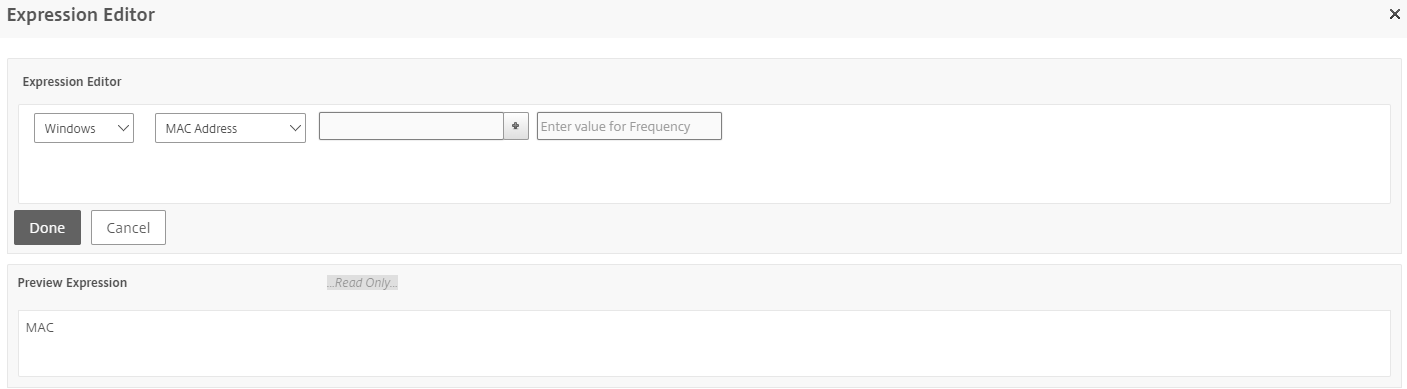
Under the Expression Editor area, select the operating system.
-
Select the desired system scan from the menu. For example, MAC Address.
-
Click the + next to the product menu to configure your scan.
-
Optionally enter a value for the frequency of the scan if you want a periodic scan.
Upgrade EPA libraries
To use the NetScaler GUI to upgrade EPA libraries:
-
Navigate to Configuration > Citrix Gateway > Update Client Components.
-
Under Update Client Components, click Upgrade EPA Libraries link.
-
Choose the required file and click Upgrade.
For the list of Windows and MAC Supported applications by OPSWAT for Citrix ADC scans, see https://support.citrix.com/article/CTX234466.
To configure a preauthentication profile using Advanced Endpoint Analysis expressions
- Navigate to Citrix Gateway > Policies.
- Select Preauthentication.
- In the details pane, on the Policies tab, click Add.
- Enter a name for the profile.
- Select an action.
- Optionally, enter the names of any processes to be stopped or files to be deleted on the client endpoint system.
- Click Create.
Your profile is now available for use in a preauthentication policy as a Request Action
To configure a preauthentication policy using Advanced Endpoint Analysis expressions
- Navigate to Citrix Gateway > Policies.
- Select Preauthentication.
- In the details pane, on the Policies tab, click Add.
- Enter a name for the policy.
- From the Request Action menu, select the desired profile.
- In the Expression pane, select OPSWAT EPA Editor.
- In the first menu, select a client operating system.
- In the second menu, select a scan type.
- When you finish building the policy, click Create.
Bind your Advanced Endpoint Analysis preauthentication policy to enable it.
To bind a preauthentication policy
- Navigate to Citrix Gateway > Policies.
- Select Preauthentication.
- In the details pane, on the Policies tab, click Add.
- From the Action menu, select Global Bindings.
- Click Bind.
- In the Policies detail pane that appears, select the check box next to the desired policy.
- Click Insert.
- The policy is automatically assigned a priority (weight). Click the Priority entry to edit as needed.
- Click OK to bind the policy.
To configure an Advanced Endpoint Analysis policy for specific sessions
- Navigate to Citrix Gateway > Policies.
- Select Session.
- In the details pane, on the Policies tab, click Add.
- Enter a name for the policy.
- In the Action menu, do one of the following:
- a. Select an existing action.
- b. Click the plus icon to display the configuration parameters that can be set by the session policy. Click the Override Global check box to the right of a configuration option to activate it. Select Create.
- In the Expression pane, select OPSWAT EPA Editor.
- In the menu, select a client operating system.
- In the second pull menu, select a scan type.
- When you finish building the policy, click Create.
Bind your Advanced Endpoint Analysis session policy to enable it.
To bind a session policy
- Navigate to Citrix Gateway > Policies.
- Select Session.
- In the details pane, on the Policies tab, click Add.
- From the Action menu, select Global Bindings.
- Click Bind.
- In the Policies detail pane that appears, select the check box next to the desired policy.
- Click Insert.
- The policy is automatically assigned a priority (weight). Click the Priority entry to edit as needed.
- Click OK to bind the policy.